프로젝트 생성
완전 처음부터 프로젝트 생성부터 시작해보겠습니다.
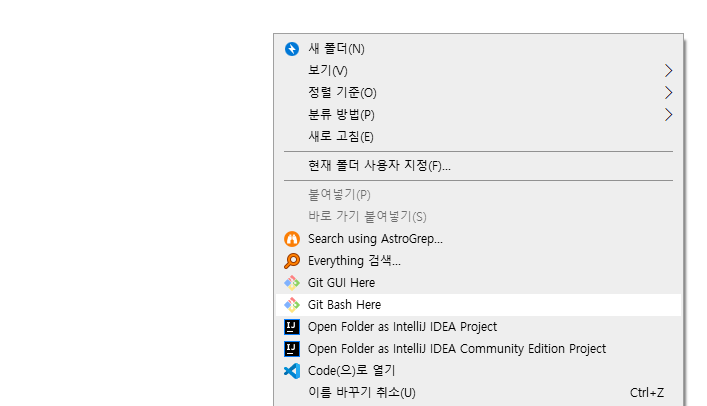
저는 Git Bash 가 윈도우에 깔려있어서 우클릭 하면 저렇게 뜨는거고,
설치되있지 않다면 이 참에 설치하시는게 편하실겁니다~
Git Bash 를 열고 아래와 같이 명령어 입력
//nedb 라는 폴더명으로 일렉트론 프로젝트 clone
git clone https://github.com/electron/electron-quick-start nedb
2초도 안걸려서 금방 clone 이 완성된것을 확인할수 있는데, 해당 폴더에 진입하여 vscode 로 진입해줍니다.

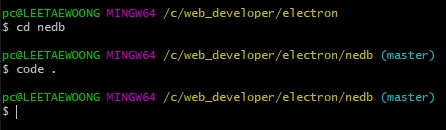
혹시라도 위 화면처럼 뜨지 않는다면, 그냥 방금 clone 했던 git bash 창에서
"cd nedb" 로 폴더 진입해서 "code ." 라고만 쳐도 vscode가 열릴꺼에요
자 vscode 가 정상적으로 열렸다면 단축키 Ctrl + ` (자판 1 옆에) 를 이용하여 터미널 창을 열어서
"npm start" 로 일렉트론 앱을 가동시켜봅니다.
그럼 아래처럼 오류가 반겨주는데요

npm install을 먼저해주고나서 npm start 를 다시 해줍니다.
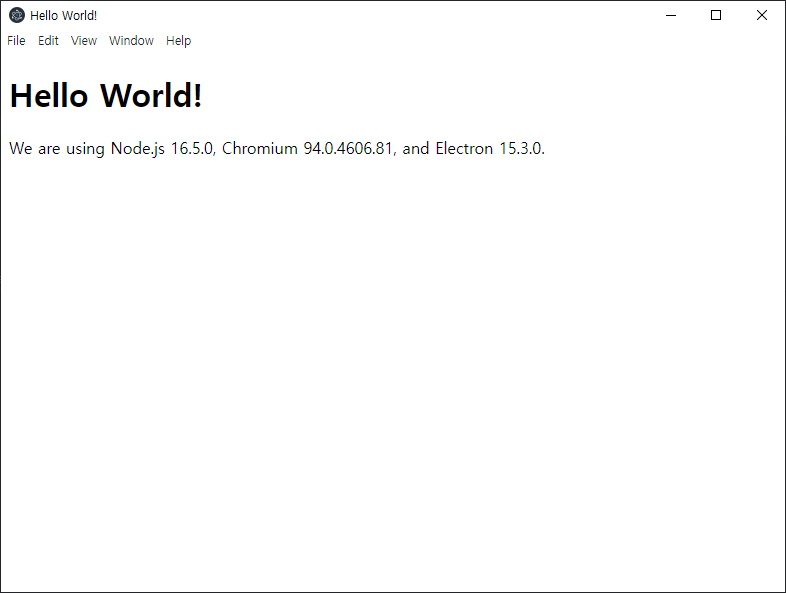
그럼 아래와 같이 창이 정상적으로 뜨는것을 확인 할 수 있습니다.
nedb 세팅
이제 기본적인 세팅은 끝났으니 이제 nedb 세팅을 해보겠습니다.
npm install nedb-promises
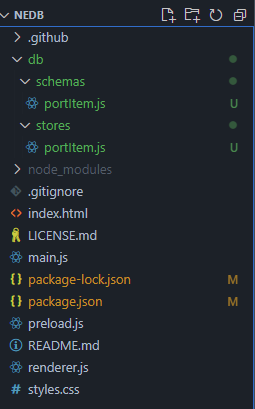
npm install ajv설치가 다 되고나면 프로젝트 최상위 폴더에서 db 폴더를 생성후에 폴더 구조를 아래와 같이 짜줍니다.
db - schemas - portItem.js
- stores - portItem.js
#### /db/schemas/portItem.js ####

const portItemSchema = {
  type: 'object',
  properties: {
    content: {
      type: 'string',
    },
    isDone: {
      type: 'boolean',
      default: false
    }
  },
};

module.exports = portItemSchema;
#### /db/stores/portItem.js ####
const Datastore = require('nedb-promises');
const Ajv = require('ajv');
const portItemSchema = require('../schemas/portItem');
class PortItemStore {
constructor() {
const ajv = new Ajv({
allErrors: true,
useDefaults: true
});
this.schemaValidator = ajv.compile(portItemSchema);
const dbPath = `${process.cwd()}/portlist.db`; //실제 데이터가 저장될 파일
this.db = Datastore.create({
filename: dbPath,
timestampData: true,
});
}
validate(data) {
return this.schemaValidator(data);
}
create(data) {
const isValid = this.validate(data);
if (isValid) {
return this.db.insert(data);
}
}
read(_id) {
return this.db.findOne({_id}).exec()
}
readAll() {
return this.db.find()
}
readActive() {
return this.db.find({isDone: false}).exec();
}
archive({_id}) {
return this.db.update({_id}, {$set: {isDone: true}})
}
updateData(data) {
return this.db.update({ _id: data._id }, { $set: {content : data.content}}, { multi :true }, function (err, numReplaced) {})
}
deleteData(_id) {
return this.db.remove({ _id: _id }, {}, function (err, numRemoved) {})
}
deleteAll() {
return this.db.remove({}, { multi: true }, function (err, numRemoved) {});
}
}
module.exports = new PortItemStore();
main.js
// Modules to control application life and create native browser window
const {app, BrowserWindow} = require('electron')
const path = require('path')

const db = require('./db/stores/portItem');
global.db = db;

function createWindow () {
  // Create the browser window.
  let mainWindow =  new BrowserWindow({
        width: 500,
        height: 500,
        resizable: false,
        webPreferences: {
          preload: path.join(__dirname, 'preload.js'),
          nodeIntegration: true,
          contextIsolation: false,
          enableRemoteModule: true
        }
    });

  // and load the index.html of the app.
  mainWindow.loadFile('index.html')

  // Open the DevTools.
  mainWindow.webContents.openDevTools()
}

// This method will be called when Electron has finished
// initialization and is ready to create browser windows.
// Some APIs can only be used after this event occurs.
app.whenReady().then(() => {
  createWindow()

  app.on('activate', function () {
    // On macOS it's common to re-create a window in the app when the
    // dock icon is clicked and there are no other windows open.
    if (BrowserWindow.getAllWindows().length === 0) createWindow()
  })
})

// Quit when all windows are closed, except on macOS. There, it's common
// for applications and their menu bar to stay active until the user quits
// explicitly with Cmd + Q.
app.on('window-all-closed', function () {
  if (process.platform !== 'darwin') app.quit()
})

// In this file you can include the rest of your app's specific main process
// code. You can also put them in separate files and require them here.
renderer.js
// This file is required by the index.html file and will
// be executed in the renderer process for that window.
// No Node.js APIs are available in this process because
// `nodeIntegration` is turned off. Use `preload.js` to
// selectively enable features needed in the rendering
// process.
const { remote} = require('electron');
const dbInstance = remote.getGlobal('db');

const mainProcess = require ("electron").remote;

var reload = () => {
    mainProcess.getCurrentWindow().reload()
}

function setting(content) {
    const portDiv = document.getElementById('portDiv');

    const span1 = document.createElement("span");
    span1.textContent = '현재 포트 : '

    const span2 = document.createElement("span");
    span2.id = 'nowPort';

    const modify = document.createTextNode(content);
    span2.appendChild(modify);

    const span3 = document.createElement("span");
    span3.textContent=' / 포트 설정 : '

    const input = document.createElement("input");
    input.type = 'number'
    input.maxLength = 5;
    input.id = 'port';
    input.addEventListener("keypress", function (event) {
        //console.log(this.parentElement.id);
        if (event.keyCode == 13) {
            insertPort();
        }
    });
    input.value = '';


    portDiv.appendChild(span1)
    portDiv.appendChild(span2)
    portDiv.appendChild(span3)
    portDiv.appendChild(input);

}


function insertPort() {
    const inputValue = document.getElementById('port').value;
    if (inputValue) {
        dbInstance.deleteAll()
            .then(result => {
                console.log("삭제 : " + result);
                dbInstance.create({content: inputValue})
                    .then(result => {
                        console.log("입력 : " + result);
                        //document.getElementById('port').value = null;
                        reload();
                        //updateView();
                })
        })


    }
}

function updateView() {
    dbInstance.readAll()
        .then(allPortLists => {
            if (allPortLists.length > 0) {
                allPortLists.forEach(item => {
                    //console.log("초기 화면 : " + item.content);
                    setting(item.content);
                });
            } else {
                dbInstance.create({content: '80'})
                    .then(result => {
                        updateView();
                })
            }
        })
}

updateView();
index.html
<!DOCTYPE html>
<html>

<head>
    <meta charset="UTF-8">
    <meta http-equiv="Content-Security-Policy" content="default-src 'self'; script-src 'self'">
    <link href="./styles.css" rel="stylesheet">
    <title>Hello World!</title>
</head>

<body>
    <div id="portDiv"></div>
    <!-- You can also require other files to run in this process -->
    <script src="./renderer.js"></script>
</body>

</html>
이렇게하고나서 , npm start 했을때 자꾸 에러 생기면 , package.json 에
"devDependencies": {
"electron": "^12.0.0"
},
부분을 12.0.0 으로 바꾸고 npm install 진행 후에 npm start 를 하면 정상적으로 가동됩니다.
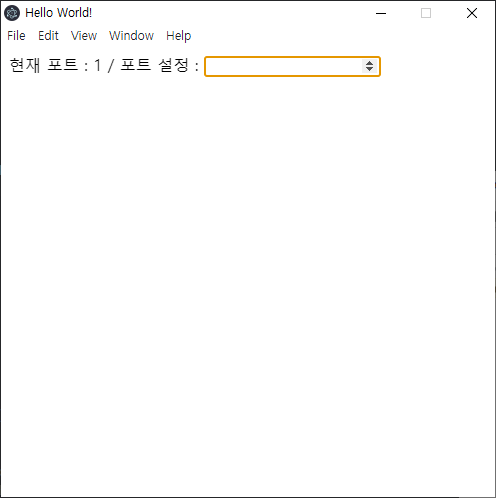
정상적으로 실행이 되었을경우 아래 같은 창이 뜰건데, 그냥 정말 심플하게 CRD 작업이 가능하고 ,
포트 설정 input 에 내용을 입력하고 Enter 를 치면 바로바로 현재 포트란에 기재가 됩니다.
/db/stores/portItem.js 부분이 테이블 역할을 하고,
/db/stores/portItem.js 부분이 쿼리 실행 역할이라, 아래 부분은 nedb 메뉴얼을 보면서 참고하여 작성하였습니다.update 도 작업을 해놨으나 이런저런 작업하다가 소스가 날아가서 포스팅엔 작성하지않겠습니다.. -_-;

데이터는 최상위 경로에 portlist.db 라고 생긴걸 볼수있는데 나름 삭제내역도 남겨져 있습니다 ㅎㅎㅎ

참고 URL
일렉트론 nedb todolist 를 아래 git 저장소에서 하는법을 배웠습니다.
https://github.com/ctxhou/electron-nedb-todolist
GitHub - ctxhou/electron-nedb-todolist
Contribute to ctxhou/electron-nedb-todolist development by creating an account on GitHub.
github.com
nedb 공식 git 인듯보이고, 상세 메뉴얼을 볼수있습니다.
'IT > Electron' 카테고리의 다른 글
| [Electron] 일렉트론 로컬저장소(Local Storage) 사용하기 (0) | 2021.10.28 |
|---|---|
| [Electron] getGlobal Error , Passthrough is not supported, GL is disabled (0) | 2021.10.26 |
| [Electron] exe 창 하나만 뜨게하기 (0) | 2021.04.02 |
| [Electron] 일렉트론 exe 실행 파일 빌드 npm run build:win64 (2) | 2021.03.24 |
| [Electron] 일렉트론 프로그램 닫기 클릭시 트레이로 숨기기 main.js (0) | 2021.03.24 |